How to track product price changes
1. Add New Job
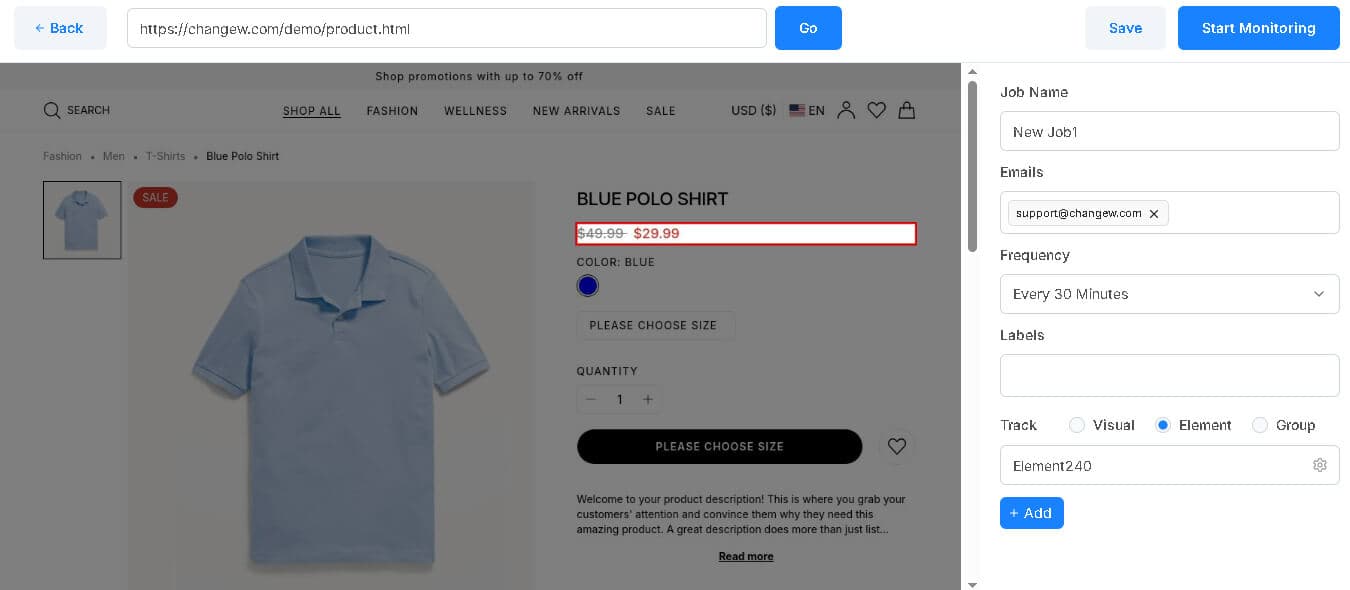
In the upper-right corner of the dashboard, click Add New Job to start setting up a new tracking job.

2. Enter webpage URL
Enter the URL of the page you want to track, then click Go.

3. Select the price element
After the page snapshot loads, it defaults to Visual Mode. Switch to Element Mode, then move your cursor over the page snapshot to select the element you want to track. A single click confirms your selection, while clicking again cancels it.
4. Select number to track
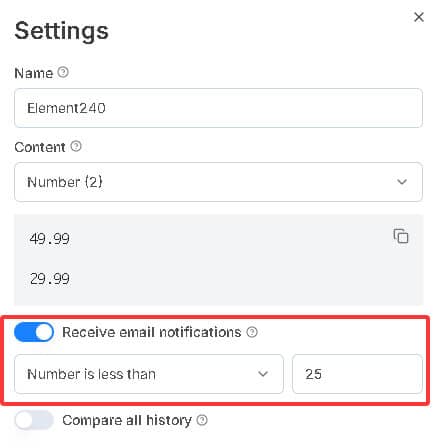
Click the settings icon on the right to open the panel. By default, text is tracked. To track price changes, select Number option from the content dropdown menu.
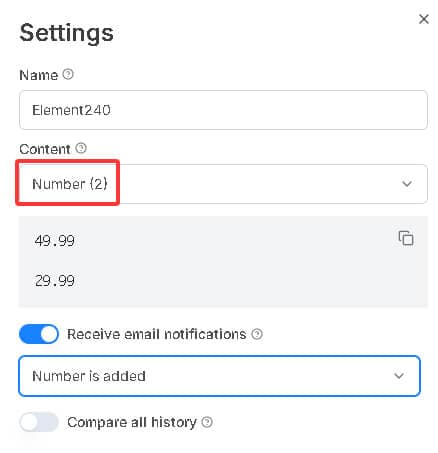
Select conditions for triggering notifications. For example, the setting is to trigger a notification only when a new number appears in the tracked page elements and when that number is less than 25.
5. Configure basic settings
- Job Name: Give the job a clear, descriptive name. This helps you easily identify and manage multiple tracked jobs in your dashboard.
- Notification Emails: Specify one or more email addresses to receive alerts when changes are detected.
- Frequency: Define how often Changew should check the selected page for changes. Choose a frequency that aligns with how frequently the monitored content is likely to change.
- Labels: Assign a label to categorize and organize jobs. Labels appear in the dashboard, allowing for quick identification and filtering.
- Tracked Item Name: This name is used to easily differentiate tracked items in notification reports and historical reports.
6. Start monitoring
After configuring all settings, confirm and start monitoring.